Roast2D - How to Fall Into and Escape the Game Engine trap
Roast2D
Roast2D is a rapid development 2D game engine inspired by high_impact and written in Rust. It comes with basic physics collision detection, supports the LDTK level editor, and can be compiled to WASM for running in browsers.
Examples
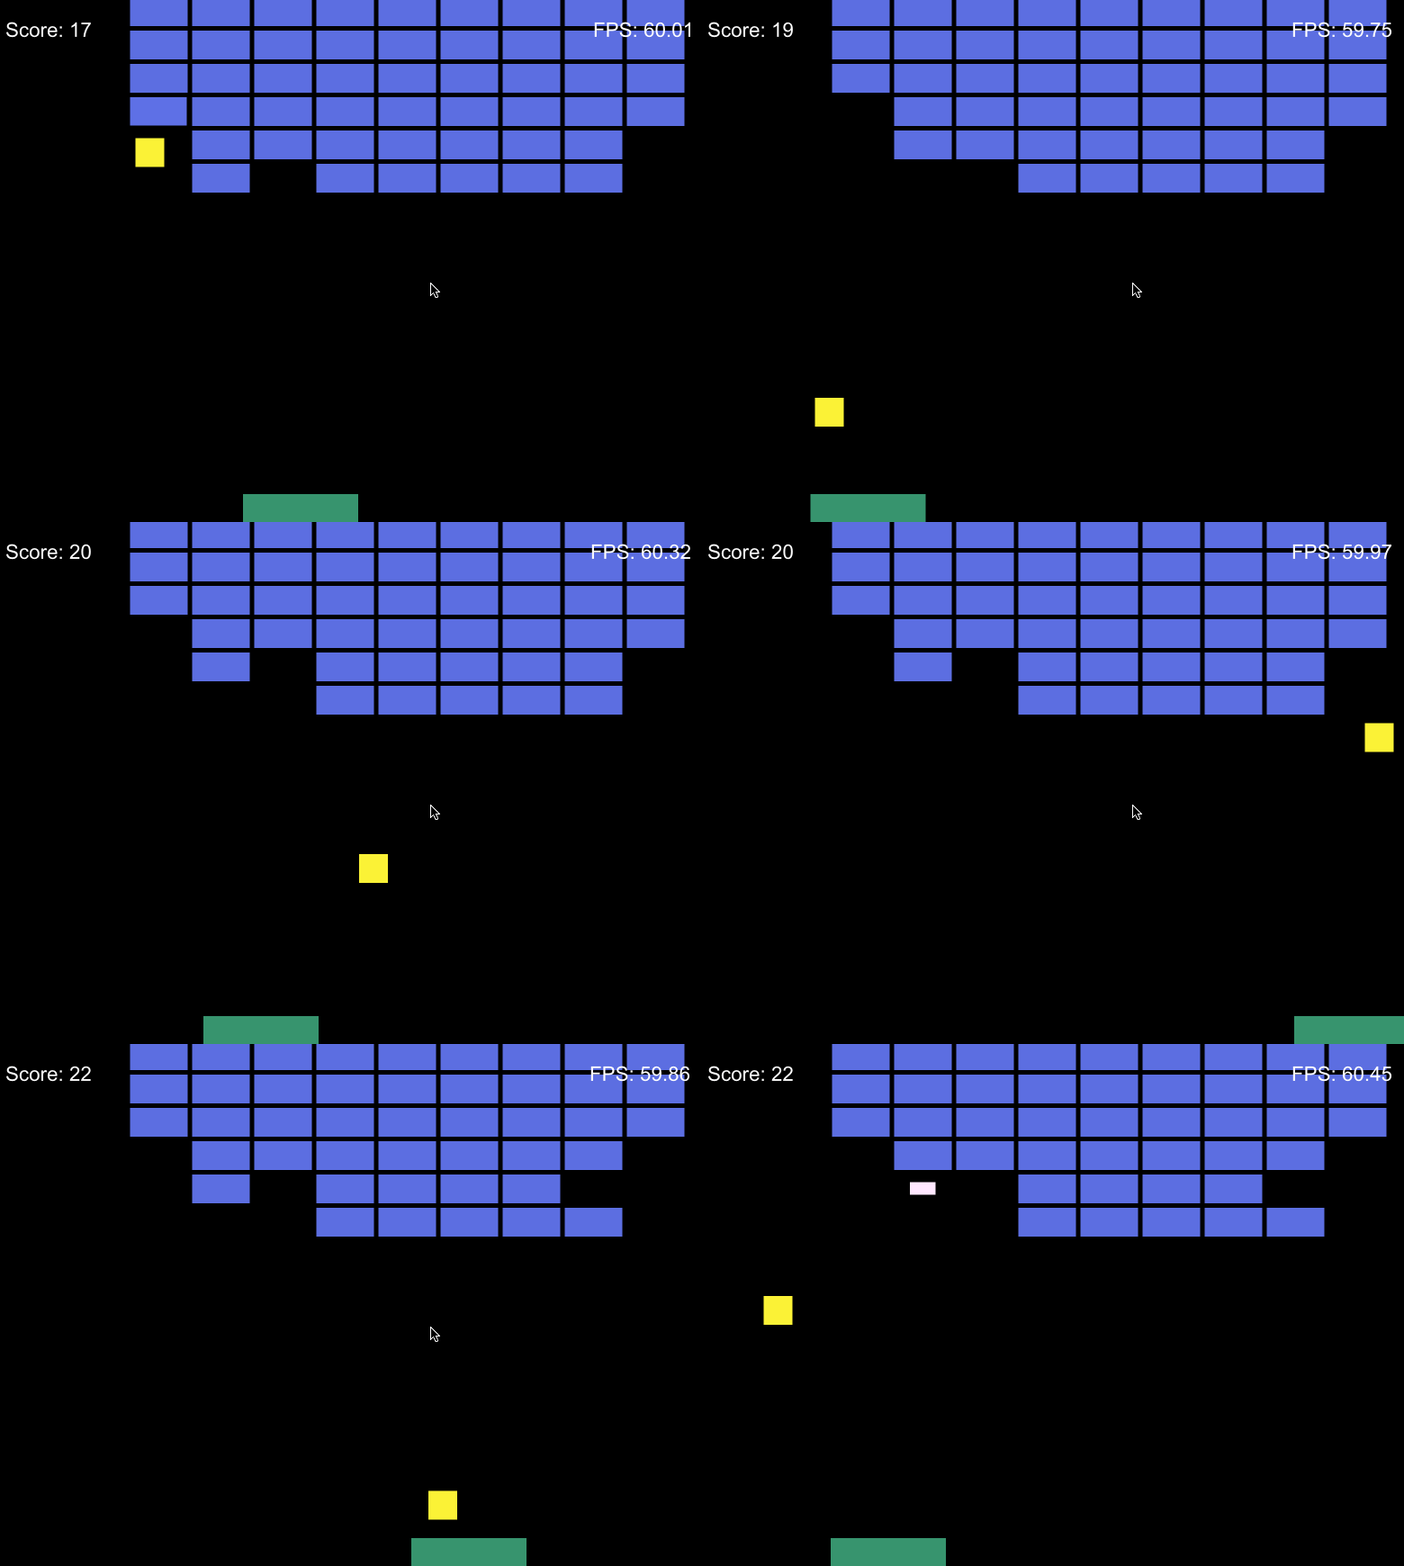
Breakout

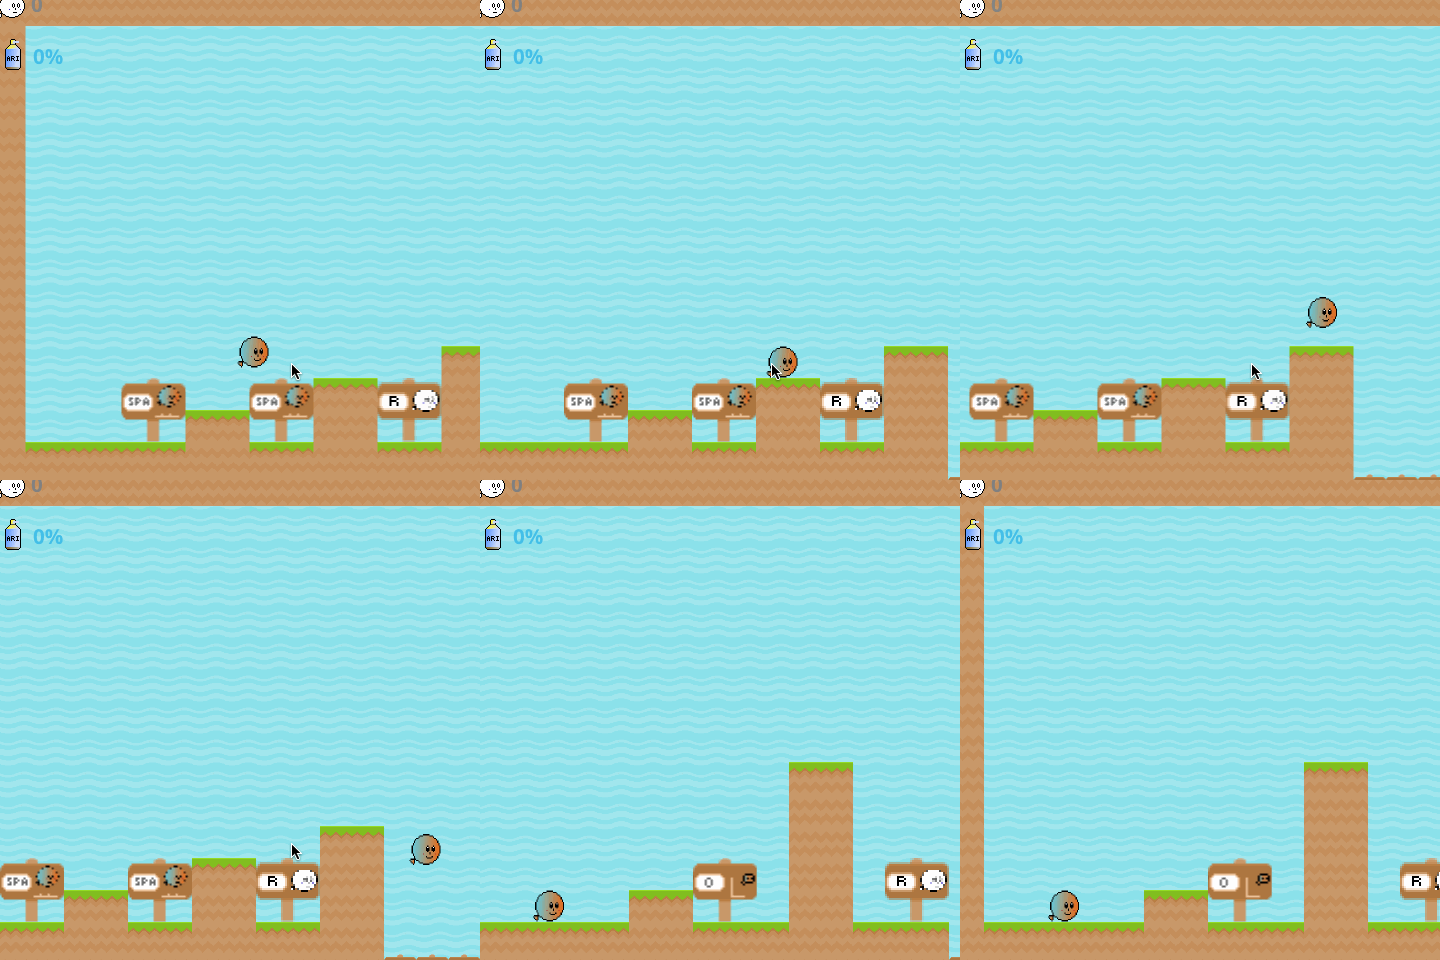
Balloon platformer

About this post
This post introduces Roast2D, a 2D engine I developed after falling into the game engine trap.
The game engine development trap refers to a common state that amateur game developers often find themselves in: They start out wanting to make a game, but end up spending all their time developing a game engine, and ultimately never make the game itself.
Originally, this post was titled “I developed a 2D game engine and used it in the GMTK Game Jam”, but I found it a bit too clickbait. I changed the title and move the focus, I decided to continuously update this post with new features of Roast2D, until the day I abandon its development.
Inspiration
I’m an indie game and board game enthusiast, and I’m more drawn to intricate game mechanics than fantasy visuals. I wanted to create games similar to Into the Breach or Slay the Spire, which captivate through their mechanics, or like Tower of the Sorcerer and Cave Story, which don’t have complex mechanics but are highly engaging.
Given my experience with Rust, I naturally started learning the Bevy engine. But it turned out to be the wrong choice. While Bevy might be a great engine for experienced developers, it’s not as easy for beginners to grasp, especially when you “lift the hood” and see a complex integrated system that’s hard to comprehend. Bevy is a fantastic engine that solves many problems in Rust game development, and I borrowed a lot from Bevy’s ECS design. However, when learning something new, it’s often best to open the hood and understand things, not rely on black boxes. Bevy’s abstraction was too complex for me, and it felt like a black box. While I created some game prototypes with it, I still didn’t feel fully in control, and those prototypes were abandoned due to lack of playability.
When I hit a dead end with Bevy, I stumbled upon an article about the high_impact engine, in which the author described how they rewrote a 10-year-old JavaScript-based engine called Impact using C. The article was simple yet informative, explaining the design of high_impact. It also mentioned that Cross Code was developed using the JavaScript version of the Impact engine, which interest me. I spent some time going through the parts of source code that interested me and quickly learn the implementation.
The simplicity of high_impact’s design hit me hard. Simple technology can support such a complex game like Cross Code, and I realized that I should start with simple technology, not complex ones.
I decided to develop my own simple 2D engine.
Rust needs a bit of ECS
The initial design of Roast2D was influenced by high_impact, using structs to define Entities and traits to define callbacks for Entities.
#[derive(Clone)]
pub struct Player {
    can_jump: bool,
    high_jump_time: f32,
    normal: Vec2,
    anim: Animation,
    size: Vec2,
}

impl EntityType for Player {
    fn load(eng: &mut Engine) -> Self;
    fn init(&mut self, eng: &mut Engine, ent: &mut Entity);
    fn update(&mut self, eng: &mut Entity);
    // ...
}
Just like high_impact, Roast2D has simple built-in physics and collision detection. The Player receives an Entity in the callback, which the Entity contains common attributes like velocity, accelerate, pos, and health. The engine reads these values in the game loop update, then update the entity’s position, check collisions, etc.
This setup is sufficient for simple logic, but Rust presents some challenges. Rust is a memory-safe language that ensures only one mutable reference can be held at a time. For example, when the engine calls Player’s update method, since update receives &mut self, no other code can simultaneously obtain a reference to this player. So, how do we handle cases where we need to iterate through all players in the update method?
- Option 1: Temporarily remove the object from the state before update, so that the current player being updated is not included in the iteration.
- Option 2: Use Borrow to wrap the object, allowing the developer to dynamically check if the player is already being referenced and skip it if so.
Both options work similarly, but either one can be cumbersome to handle.
Using ECS (Entity Component System) solves this issue. An entity is just an ID, and callback methods don’t hold references to any state. Instead, components are accessed through the Entity ID only when needed, and references are kept as short-lived as possible to avoid lifetime conflicts. While ECS wasn’t specifically designed to address Rust’s borrow checker, its flexibility and modularity naturally avoid complex state access issues.
Roast2D’s ECS design is similar to Bevy’s, but with a much simpler implementation.
#[derive(Component)]
pub struct Player {
    color: Color,
}

impl Player {
    pub fn init(w: &mut World, pos: Vec2) -> Ent {
        let size = Vec2::new(128.0, 48.0);
        let color = Color::rgb(0x37, 0x94, 0x6e);
        let ent = w
            .spawn()
            .add(Transform::new(pos, size))
            .add(Physics {
                friction: Vec2::splat(FRICTION),
                check_against: EntGroup::PROJECTILE,
                physics: EntPhysics::ACTIVE,
                ..Default::default()
            })
            .add(Player { color })
            .add(Hooks::new(PlayerHooks))
            .id();
        w.get_resource_mut::<CollisionSet>().unwrap().add(ent);
        ent
    }
}

#[derive(Default)]
pub struct PlayerHooks;

impl EntHooks for PlayerHooks {
    fn update(&self, eng: &mut Engine, w: &mut World, ent: Ent);
    // ...
}
All entities, components, and resources are stored in World.
We use World#spawn to create a new entity and then call add to add components. Roast2D provides basic components like Transform, Physics, and Hooks. Most entities require these components. Hooks accepts a trait that defines callbacks for the entity. The user-defined Player component is mostly just a marker.
Resources are similar to singleton objects in OOP. In the example above, we add an entity to the CollisionSet, and the engine checks for collisions between entities in the CollisionSet.
The ECS implementation code is extremely simple, just using HashMap to implement components and resources. This ECS design solves the reference issue mentioned earlier, I call it the Poor Man’s ECS.
For more on ECS, I recommend the article Archetypal ECS Considered Harmful?, which discusses archetype and sparse tables, which is general methods to implement effecient ECS.
LDTK level editor
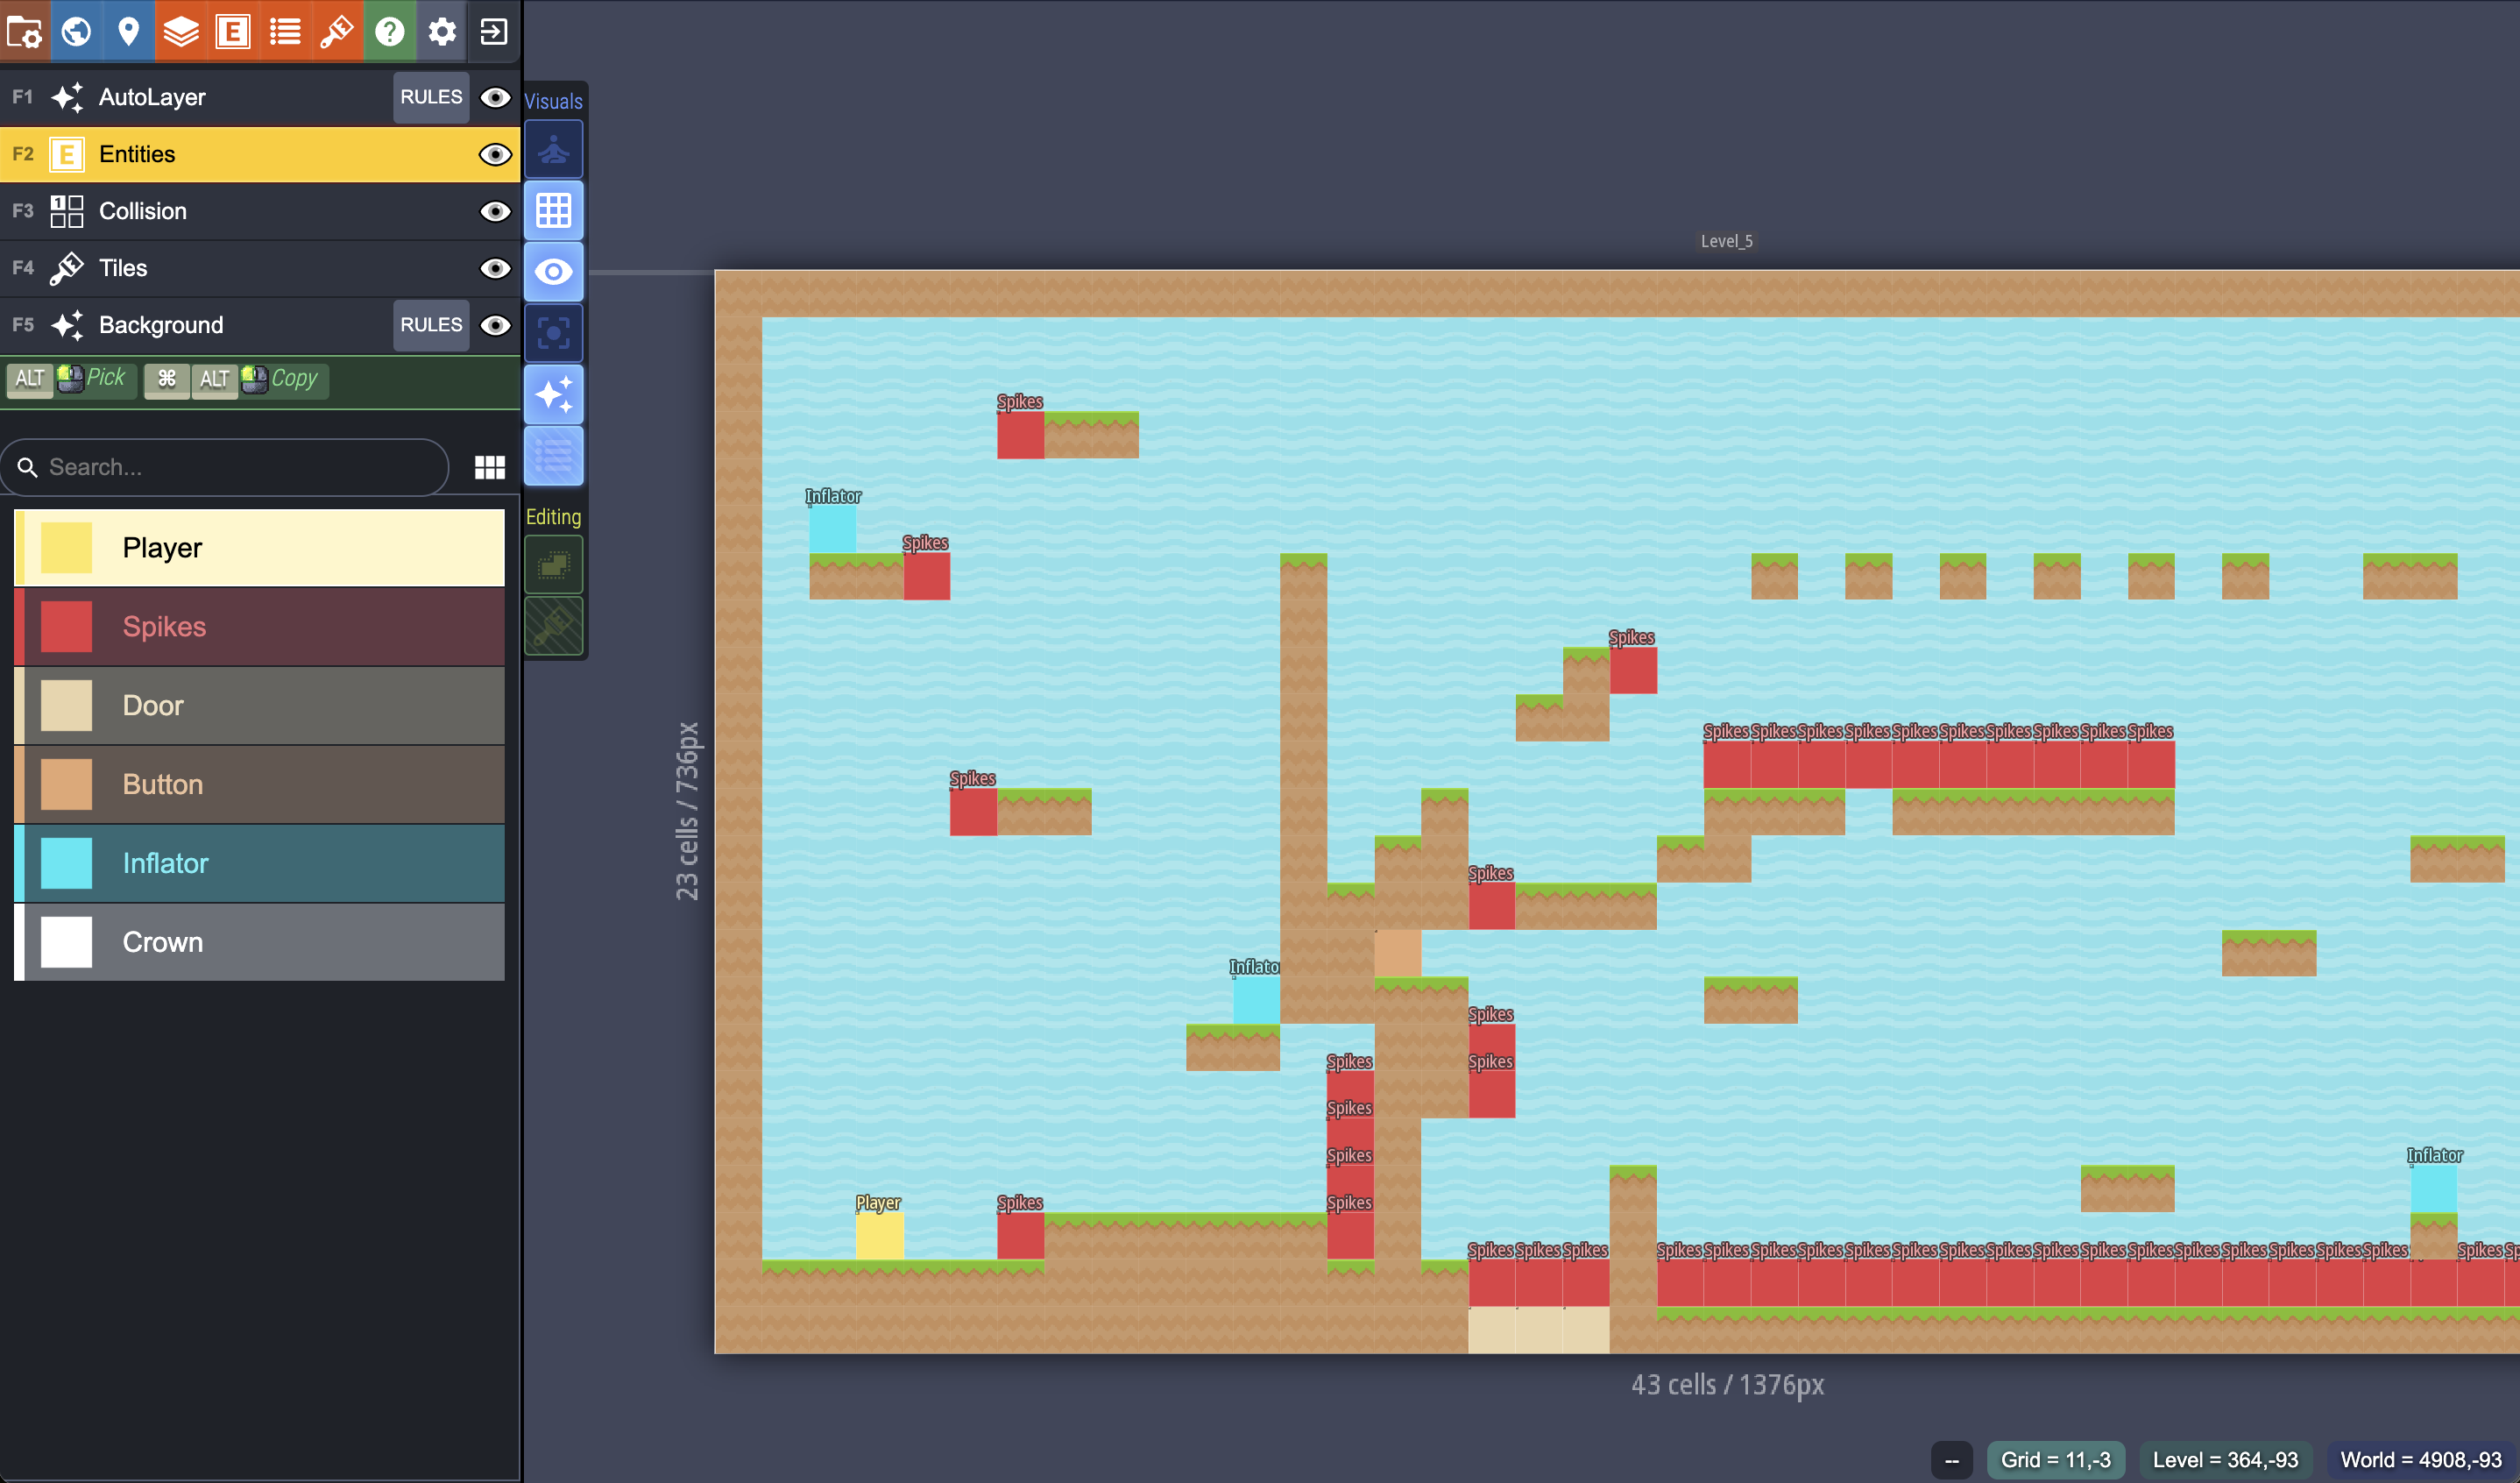
LDTK is an open-source game level editor.
LDTK is not tied to any specific game engine. It supports defining entities, worlds, levels, layers, and other common concepts, and allows importing tilesets and other assets. It exports a JSON file with the .ldtk extension.
Roast2D supports reading LDTK JSON files and automatically loading entities and tilemaps.
There are a few conventions when using Roast2D with LDTK:
- Collision layer: If the layer type is IntGrid and its name is Collision, Roast2D will parse it as a collision map, where 0 represents no collision, and 1 represents a tile with collision.
- Entities layer: If the layer type is Entity and its name is Entities, the entities in the layer must have names matching the component types defined in Roast2D. Roast2D will automatically spawn the entities and components.

Collision detection
Collision detection can be enabled for an entity by adding Transform, Physics components, and inserting the Entity ID into the CollisionSet,
During the game loop, engine iterates through all entities within the CollisionSet, and executes the sweep and prune algorithm, which reduces unneccesary collision checks by only considering entities that overlap on the x-axis or y-axis.
The Roast2D engine only supports rectangle collision detection. We use two different methods depending on wether the entity is rotated:
- Unrotated, when
Transform#angleis set to the default value or a right angle, the entity is an unrotated rectangle, so we just use AABB (Axis-Aligned Bounding Box) for collision detection. - Rotated, when
Transform#angleis a non-right angle, the Entity is a rotated rectangle, so we use the seperating axis theorem for collision detection.
SDL2 and WASM
The platform-related code is much simpler. The core requirement is to draw rectangles on different platforms and display pixels. We use a simple trait to abstract these methods.
pub trait Platform {
    /// Return seconds since game started
    fn now(&mut self) -> f32;
    fn prepare_frame(&mut self);
    fn end_frame(&mut self);
    fn cleanup(&mut self);
    fn draw(
        &mut self,
        texture: &Handle,
        color: Color,
        pos: Vec2,
        size: Vec2,
        uv_offset: Vec2,
        uv_size: Option<Vec2>,
        angle: f32,
        flip_x: bool,
        flip_y: bool,
    );
    fn create_texture(&mut self, handle: Handle, data: Vec<u8>, size: UVec2);
    fn remove_texture(&mut self, handle_id: HandleId);
    #[allow(async_fn_in_trait)]
    async fn run<Setup: FnOnce(&mut Engine)>(
        title: String,
        width: u32,
        height: u32,
        vsync: bool,
        setup: Setup,
    ) -> Result<()>
    where
        Self: Sized;
}
Initially, I decided to only support the SDL2 backend, but then I found that the sdl2 rust crate has many small problems, such as not being able to compile to the wasm32-unknown-unknown target, which means our game cannot run in the browser.
So I decided to add Web backend support, using Web canvas interfaces to implement Platform.
In Rust, we can directly call canvas interfaces through the wasm-bindgen crate, which is a great experience. Basically, anything that can be done in JavaScript can be done directly in Rust, without even considering lifetime! All Dom objects are internal mutable!
The Web backend is essentially calling the canvas’s drawImage interface to draw images. I spent a lot of time dealing with the mysterious white lines that appear on the edges of tiles in Canvas, and the rest of the work went smoothly.
When implementing the Web backend, I already had some game code that could run, and I could see the game gradually coming together as I implemented the simple interfaces, which is an amazing experience.
Asset Loading
Because I added Web support, loading images and other assets couldn’t be done with simple file I/O. I decided to imitate Bevy’s asset loading method, providing an AssetManager and a load interface. The interface immediately returns a Handle instance representing a reference to the asset. The Handle only saves an ID.
#[derive(Debug)]
pub enum AssetType {
    Raw,
    Texture,
}

impl AssetManager {
    pub fn load<P: AsRef<Path>>(&mut self, path: P, asset_type: AssetType) -> Handle {
        //...
    }
    pub fn get_raw(&self, handle: &Handle) -> Option<&Vec<u8>> {
        //...
    }
    pub(crate) async fn fetch(&mut self) -> Result<Vec<FetchedTask>> {
        //...
    }
}
When calling load to load a Texture, after the asset is loaded, the engine will automatically call Platform#create_texture to create a texture on different platforms. In SDL2, it will create an SDLTexture, and in Web, it will create an OffscreenCanvas.
When calling load to load a Raw asset, we simply save it as a Vec<u8>. The game code needs to get the result through the get_raw interface and continue processing the asset.
AssetManager’s fetch will be called every frame to check if there are any requested assets. If there are, it will try to load them. In Web, fetching assets is done through web workers, and in non-Web environments, it is done through standard library file I/O.
The game code needs to save the Handle returned by load to reference the asset.
let handle = eng.assets.load_texture("demo.png");
let sprite = Sprite::new(handle, UVec2::splat(32));
When all references to the Handle are dropped, AssetManager will release the asset. If it’s a texture, it will call Platform#remove_texture.
impl Drop for StrongHandle {
    fn drop(&mut self) {
        let _ = self.drop_sender.send(DropEvent(self.id));
    }
}

impl AssetManager {
    pub(crate) async fn fetch(&mut self) -> Result<Vec<FetchedTask>> {
        // ...
        // remove dropped assets
        while let Ok(event) = self.receiver.try_recv() {
            self.assets.remove(&event.0);
            let fetched_task = FetchedTask::RemoveTexture { handle: event.0 };
            tasks.push(fetched_task);
        }
        // ...
    }
}
The code is largely inspired by Bevy, but I only implemented a simplified version, removing the parts related to reflection and reducing unnecessary abstraction layers.
Audio Interface
I’m not familiar with how to design an audio playback interface, so I chose not to integrate audio into the engine. However, game code can directly use the kira crate to support audio across platforms. The game can use the AssetManager interface provided by Roast2D to load audio resources and then hand them over to kira for processing after the resources are loaded.
Here is an example code that checks if there is a cached file every time it plays audio. If not, it checks if the asset is loaded in AssetManager.
match self.sounds_data.get(handle) {
    Some(data) => {
        log::debug!("Get sound {sound:?} cached");
        Some(data.to_owned())
    }
    None => {
        let Some(raw) = eng.assets.get_raw(handle).cloned() else {
            log::debug!("Get sound {sound:?} not ready");
            return None;
        };
        log::debug!("Get sound {sound:?} done");
        let data = StaticSoundData::from_media_source(Cursor::new(raw)).unwrap();
        self.sounds_data.insert(handle.to_owned(), data.clone());
        Some(data)
    }
}
Ending?
No, princess is in another castle!